
Akshath Kothari
April 13, 2022 · 4 min read
.svg)

.svg)
If you believe in thoroughly testing your code and ensuring that your APIs are safe from such vulnerabilities in the future, then I have good news for you.
This blog post will show you how to generate tests to detect the Spring4Shell vulnerability in your API endpoints.
All you’re going to need is an OpenAPI Specification for your endpoints and a usable Docker installation. If you do not have an openAPI spec, reach out to us and we’ll help you out.
1. Sign up for an account at https://app.levo.ai/ It’s free!

2. You should be taken to the following screen (if you’re using email and password based login).

3. Once you confirm your email, you will be taken to the Welcome screen.

For now, we are going to skip onboarding and go directly to the step where you upload your open API spec. Click on “API Catalog” in the sidebar.
4. Click on the “Import New Schema” button in the top right corner.

5. For the purposes of this tutorial we are going to be using the demo application at https://github.com/levoai/Spring4Shell-POC, but feel free to follow along with your own application. Download the “openapi.yaml” file from the root of this GitHub repository.
6. In the “Import New Schema” screen, specify a name for the new API Catalog and upload the openapi.yaml file you downloaded as a Schema. We are going to skip the other optional fields for now. Click on Save.

6. You should see this dialog.

8.Congrats! Now that the API Catalog has been created, we can create a Test Plan using this catalog.
9. Click on the “Test Plans” in the sidebar.
10. Then, click on “New Test Plan” in the top right corner. You will be taken to the following screen. While Zero Configuration Tests allow you to get started much quicker, you can select Data-Driven testing for more accurate results. So that’s what we’re going to select for this tutorial.

11. In the following screen,

a. Add a name for your test plan.
b. Select the API Catalog you created under API Assets.
c. Check the “Auto-populate API Parameters for this test plan” checkbox.
d. Click on the Advanced test plan settings button and select only the “RCE” category. RCE stands for “Remote Code Execution”. Since Spring4Shell is an RCE vulnerability, this is the only category we’re interested in for now.
e. Click on “Generate test plan” to proceed. You should now see the newly created test plan listed in the Test Plans screen.
12. If you click on the test plan you should see a list of the endpoints from the spec you uploaded earlier.

13. Click on a test suite to look at the test cases contained within it.
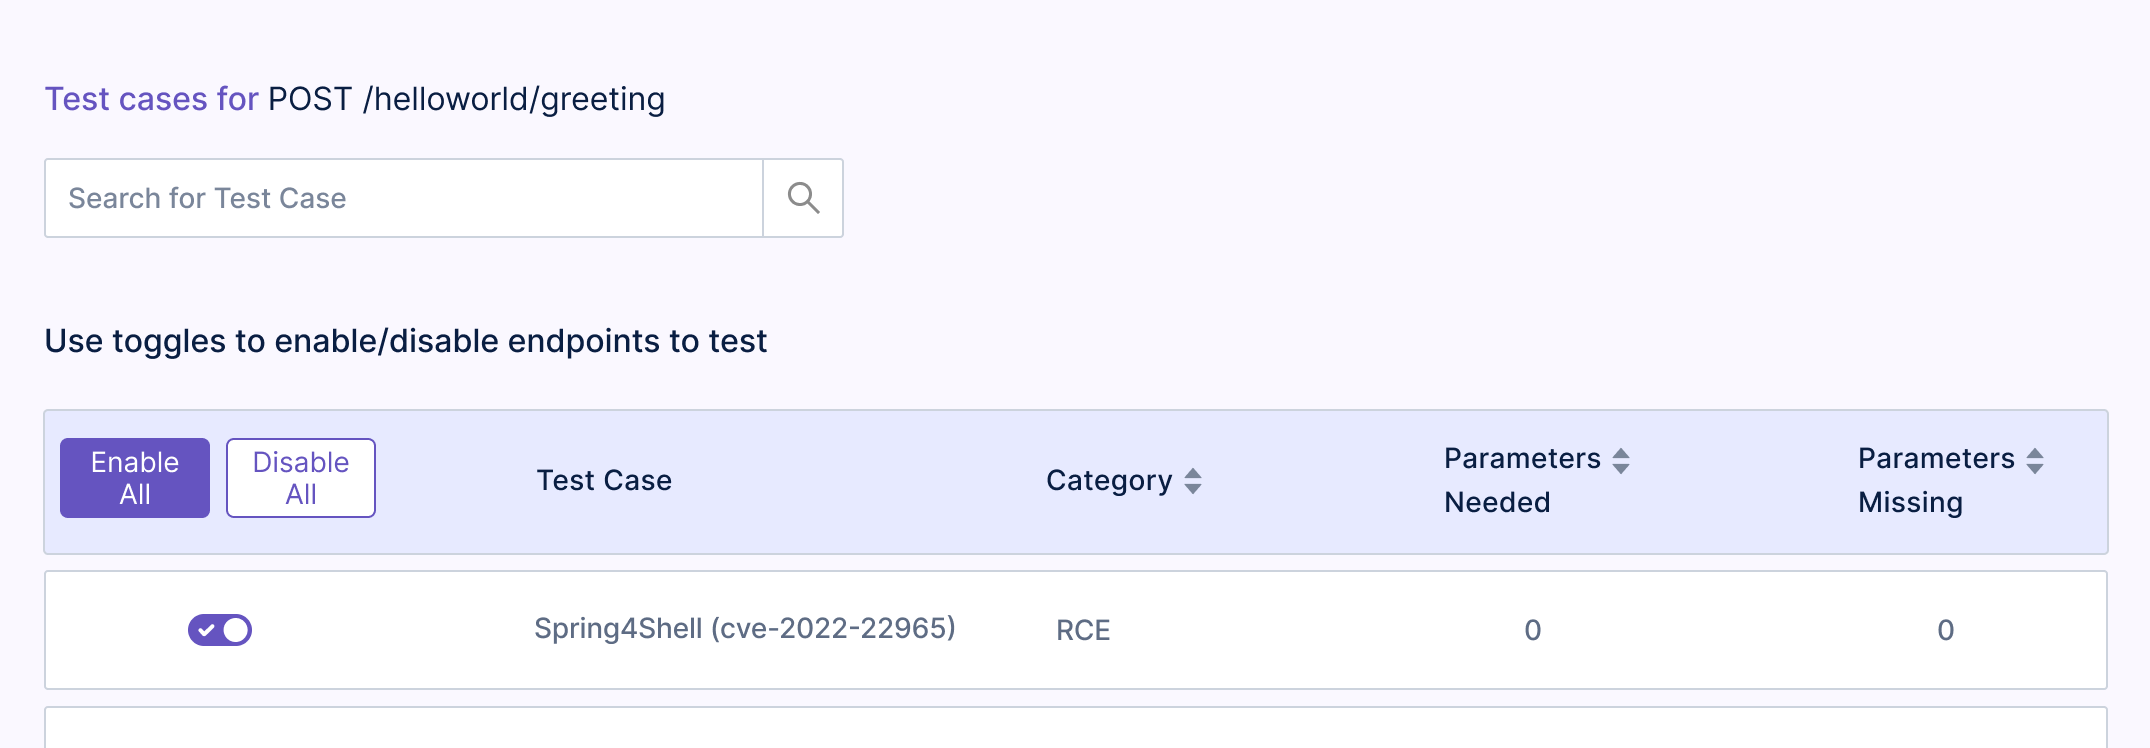
14. Click on a test case to look at a detailed description of the security test, along with the parameters that will be attacked and the actual code for the test.
The Spring4Shell test case uses OWASP ZAP under the hood. More on that in a future blog post.
Note that if you have been following along with your own openAPI spec, you may need to configure test case parameters based on your APIs. You may also want to disable Log4Shell test cases if you don’t want to test for that.
15. Now that the test plan has been created, it’s time to run the tests!
You need to do 2 things:
a. Start the demo app locally.
b. Run the tests against the demo app using Levo’s CLI tool
We are going to do both of these using Docker.
16. For starting the demo app, run the following commands in your terminal:
a. git clone https://github.com/levoai/Spring4Shell-POC/ && cd Spring4Shell-POC
b. docker build . -t spring4shell
c. docker run –rm -p 8080:8080 spring4shell
17. Now, for running the tests against it, depending on your OS, please follow the instructions below for installing the Levo CLI:
18. Now, go back to the Test Plan and click on the “Copy LRN to Clipboard” button.

19. Run levo test –test-plan <LRN you copied> –target-url https://host.docker.internal:8080
20. That’s it!
The CLI will display the progress of the test plan as each test case is run. The results along with more insights will also be available on the Test Runs page.
A direct link will be printed by the CLI after the test run is complete.

Do let us know if you had any problems while following along with this tutorial and we’ll do our best to help you out.
Cheers!
Akshath


Copyright © 2024 Levo
.svg)
